A Guide to Iceberg Photography in Newfoundland

New Melbourne Newfoundland.
Newfoundland is one of the best places in the world to photograph icebergs, with massive chunks of ancient ice drifting down Iceberg Alley every spring and early summer. Whether you're an amateur photographer or a seasoned pro, capturing these frozen marvels requires more than just pressing the shutter button. This guide will help you find, frame, and photograph icebergs in Newfoundland. Many of these tips will be applicable to both DSLRs/mirrorless cameras and phone cameras. Either way, no matter what you are using to capture iceberg images, you will get some value out of this guide. In the meantime, get a hot beverage of choice and sit back and enjoy!
1. Finding Icebergs: Best Locations and Tools
To photograph icebergs, you first need to find them. Icebergs frequent an area known as Iceberg Alley, which stretches along the eastern and northeastern coasts of Newfoundland and Labrador. Some locations to consider include:
Twillingate
Triton
St. Anthony
Fogo Island
Bonavista
Avalon Peninsula (this area is hit or miss)

Iceberg Alley.
Best Time to See Icebergs
The best time of year to see icebergs is May and June. During these months, the icebergs have made their way south from Greenland and are at their peak visibility along Newfoundland’s coast. Earlier in the season, many icebergs are still further north, while later in the summer, they may have melted or drifted out to sea.
Tracking Icebergs
Tracking icebergs is made easier with online resources. The Newfoundland and Labrador Iceberg Reports Facebook group is an excellent place to check for real-time updates from locals and fellow photographers. Another invaluable tool is IcebergFinder.com, a website run by Newfoundland & Labrador Tourism that provides up-to-date locations of icebergs around the province. People post photos of icebergs and their locations, so be sure to check when the photo was posted.
For a broader overview of iceberg movement and density, you can check the daily iceberg chart by Environment Canada. This resource gives insight into how the season is progressing, though it is not meant for pinpointing individual icebergs.
2. Choosing the Right Lens
Your choice of lens will depend on how close you are to the iceberg:
Wide-Angle Lens (16-35mm): Perfect for capturing an iceberg near shore, including foreground elements like waves, rocks, houses, or boats to convey the landscape. However, beware that it may shrink the iceberg, reducing its prominence in the scene.
Mid-Range Zoom (24-70mm): Versatile for iceberg photography, balancing foreground and background. Longer focal lengths compress distant icebergs, making them seem closer to the landscape—ideal for boat shooting. It captures both iceberg sections and wider scenes as the boat moves, allowing slower shutter speeds without motion blur due to shorter focal lengths.
Telephoto Lens (70-200mm): Excels at capturing iceberg details—cracks, striations, and blue ice—while compression enlarges the iceberg relative to its surroundings, adding drama (e.g., a person in the foreground with a distant iceberg appearing huge). From a boat, use faster shutter speeds to avoid motion blur and raise ISO for exposure. Onshore with a tripod, slower shutter speeds work, accounting only for iceberg movement.
100-400mm Telephoto Lens: Allows you to zoom in on intricate ice formations that a wide-angle lens would miss. When using a telephoto lens, be mindful of shutter speed; to avoid camera shake, use a shutter speed of at least 1/500s and consider image stabilization. This will depend on your camera or lens.
3. Camera Settings and Technical Tips
Shooting icebergs presents some unique challenges, so consider these settings:
Aperture: For landscape shots, use a narrower aperture (f/8–f/16) to keep the iceberg and foreground sharp.
Shutter Speed: Icebergs are constantly moving. If shooting from a boat, use a faster shutter speed (1/500s or faster) to prevent motion blur.
ISO: Keep ISO as low as possible (ISO 100–400) to minimize noise, especially when shooting in bright conditions. Raise ISO to compensate for the loss of exposure from the increase of shutter speed. Modern cameras now make it easier to shoot at higher ISO values without having to worry as much about grain.
Polarizing Filter: A polarizing filter will help cut through glare on the water and enhance the blue hues in the iceberg. Not necessary for all scenes but a nice touch when you can. Be careful if you want to include reflections on the water as a polarizer will reduce this.
Exposure Considerations: When photographing an iceberg, the brightest object in the scene, avoid overexposure by exposing for its brightest part to preserve highlight details. Check exposure using your camera’s histogram (consult your manual) to ensure highlights aren’t clipped too far to the right. Alternatively, use the “blinkies” method (check manual or YouTube on how to do this): review the image on your camera screen for black areas overexposed highlights, then reduce exposure and reshoot if needed. Simple and effective.
4. Shooting from Land
Find a good vantage point: Elevated cliffs and hills or anything that will give you a higher perspective.
Use foreground elements: Rocks, vegetation, or boats can add depth and scale from foreground to background.
Pay attention to light: The best times for iceberg photography are early morning and late evening when the light is soft and golden.

Twillingate Island Newfoundland
5. Shooting from a Boat
Safety first: Always wear a life jacket and follow your guide’s instructions.
Stabilize your camera: Use a fast shutter speed and consider image stabilization to counteract boat movement.
Mind the distance: Never get too close to an iceberg, collapsing ice can be dangerous.
Capture details: Zoom in on cracks, blue ice formations, and melting features for dramatic compositions.

Triton Newfoundland.
6. Shooting in Different Lighting Conditions
Sunrise & Sunset: The golden light of sunrise and sunset enhances the iceberg’s colors, creating a warm contrast with the cool blue tones of the ice.
Blue Hour: The soft, diffused light during blue hour (just before sunrise or after sunset) can make icebergs appear even more ethereal, highlighting their translucent quality.
Cloudy Days: Overcast conditions can help avoid harsh shadows and create a moody, dramatic atmosphere, making icebergs stand out against a darker sky.
Sunny Days: Bright sunlight enhances the deep blue hues in the ice but can cause glare. A polarizing filter helps reduce reflections and boosts contrast.
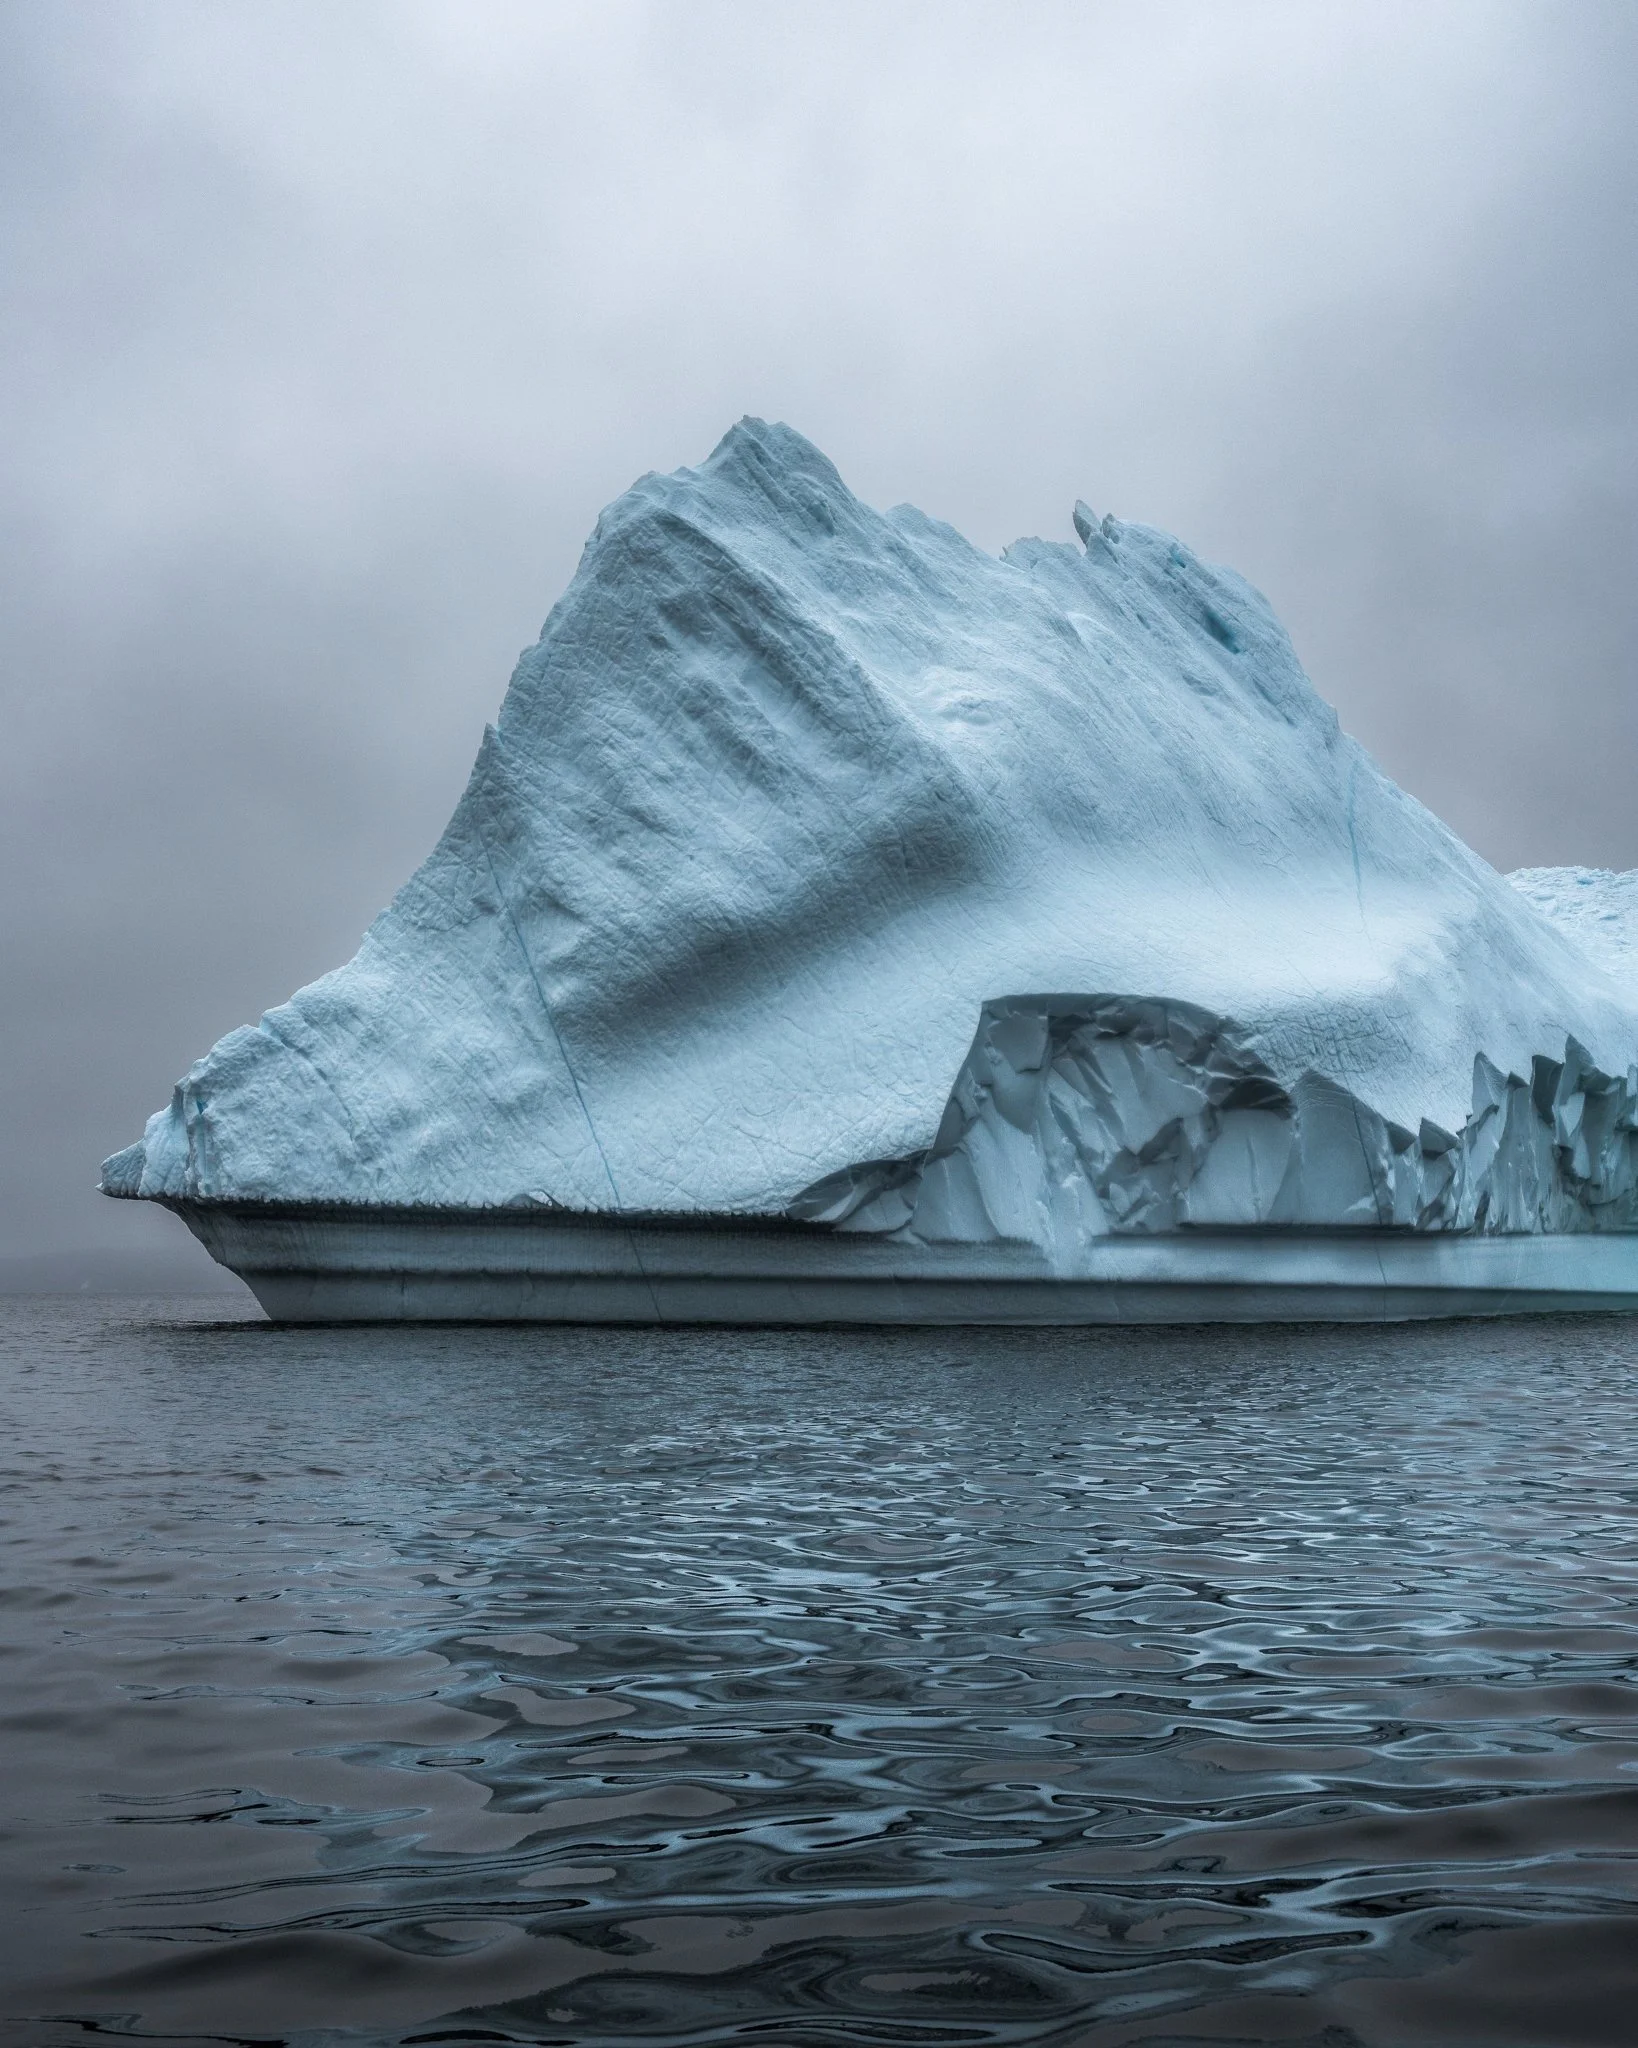
Foggy Conditions: Fog can add a moody atmosphere to the scene. This may require patience as the fog at times can completely cover the iceberg.

Spillars Cove Twillingate Island Newfoundland.
7. Composition Tips
Include a sense of scale: Icebergs can be massive, but without context, their size can be hard to grasp. Including boats, birds, or people in the frame helps give a true sense of their grandeur.
Use leading lines: Shorelines, waves, or even cloud formations can help direct the viewer’s eye toward the iceberg.
Mind the horizon line: Keep the horizon straight and consider the rule of thirds for balanced compositions.
Simplify the scene: Avoid clutter by eliminating unnecessary distractions. A clean composition keeps the focus on the iceberg.
Frame with foreground elements: Use rocks, water, or coastal features to create depth and make the image more dynamic.
Capture reflections: Still water can provide mirror-like reflections, adding symmetry and calm to the scene.
Experiment with different angles: Shoot from different heights and perspectives to create unique compositions.
Triton Newfoundland.
8. Safety Considerations
Keep a safe distance: Icebergs can roll, split, or calve without warning. Never get too close.
Dress for the weather: Newfoundland’s coastal climate can be unpredictable. Wear layers, waterproof clothing, and proper footwear.
Beware of slippery surfaces: Cliffs and rocks near the shoreline can be slick, especially in wet or icy conditions.
Watch the edges: Do not get too close to the edges of cliffs as there may be overhangs or erosion that can cause collapse. Never turn your back to an edge.
Follow local guidelines: If on a tour, listen to your guide’s safety instructions and respect any restrictions in place for your protection.

Grates Cove Newfoundland.
Conclusion
Photographing icebergs in Newfoundland is an unforgettable experience, offering countless creative opportunities.
By planning your location, using the right gear, and mastering technical settings, you can capture these frozen giants in all their glory.
Whether you're on the shore or out on a boat, patience and preparation will reward you with stunning images of one of nature’s most fleeting wonders.